


Who doesn't love the smell of laundry fresh-off-the-line? Its delicate floral scent is like aromatherapy for the soul. Unfortunately air drying is not always an option and until recently I thought capturing that illusive summer scent near impossible. That is until I took matters into my own hands and decided to recreate that line-dried scent using a handful of dried herbs and a household staple- rice.
Fresh herbs and spices have been used to ward off bugs and freshen linens for centuries. Though we have lots of sprays and soaps to use nowadays, I still enjoy combining a few natural ingredients to organically remove unwelcome smells in dusty drawers or open baskets. Not to mention they're incredibly easy to make, I'll show you...

Supply List (makes 4 sachets)
1 | Dried Lavender- The natural home's workhorse. This dried herb finds its way into almost everything and naturally wards off unwanted pests. Home grown would be even more incredible, maybe next year! 1/4 cup
2 | Dried Chamomile- An herb that smells like sunshine. Its warm floral scent and natural soothing qualities are a personal fav. 1/4 cup
3 | Dried Rosemary- I snuck an extra herb in the mix! I love the earthy quality that rosemary adds and it's also a pest preventer (no moths please). I snipped some from our garden, but you can use some from your spice cupboard. 1/8 cup
4 | Rice- An type will do, but since we're going all natural perhaps look for an organic bag the next time you're shopping? 1/4 cup
5 | Scrap fabric, Needle & Thread - I quickly whipped up a few sachet bags, but you can buy them too!

The next steps are so easy I almost feel bad calling this a DIY! Simply mix together your dry ingredients and assemble. I found the easiest way to get the mix into the pouch was to do it by hand. Once you've filled the sachet, close the pouch and getting ready for heavenly smelling dresser drawers. It's that easy.
You may notice the scent fading after a couple of weeks- grab the sachet and rub it in your hand for 30 seconds to release more scent, you can do this 2-3 times before you need to remake. The reusable bags make it easy to create a new batch. big kiss, bekuh
I find this method just as effective as using Febreeze, or other sprays to freshen clothes. It's also a much milder scent, and environmentally friendly!

With my love of flowers and passion for natural living, it was only a matter of time before I started finding ways to combine the two. My first foray, and most recent obsession? Rosewater. Though readily available at most grocery stores, rosewater often contains a lot of chemicals and preservatives, which is why I decided to start making my own. You'd be surprised how easy it is to do, and it makes your house smell amazing in the process!
Health and beauty benefits abound for this magical elixir- Cleopatra is said to have called it the fountain of youth. Though I wouldn't go as far as that, I can attest to its toning and anti-inflammation properties. In addition to the beauty benefits, you can also include it in room sprays and all-natural cleaning supplies. A simple internet search will reveal just how many ways it can be used, but today we'll stick to the basics, making the rosewater itself.
Scroll down for the tutorial...


diy rosewater
1 | Gather your supplies- You'll need 2-3 organic roses, distilled water, a pan, fine-mesh strainer, funnel, and a glass bottle or storage container. It's very important that the roses are organic as any chemical pesticides will release into the water tainting the finished product.
2 | Remove & wash petals- Even though the roses you've collected are organic you should still wash them gently under room temperature water before proceeding. This will remove any dirt or bugs that might be hiding in the petals.
3 | Place petals in the pan & cover with water- You don't have to be super specific about the amount of water you use, a good general rule is to fill it so there's 1-2 inches of water over the petal baseline.
4 | Simmer on medium-low heat- Steep the rose petals, like a tea, until the water is a nice rosy color. It will smell divine.
5 | Cool the rose water- Turn the heat off and let the water cool completely. You don't want to burn yourself.
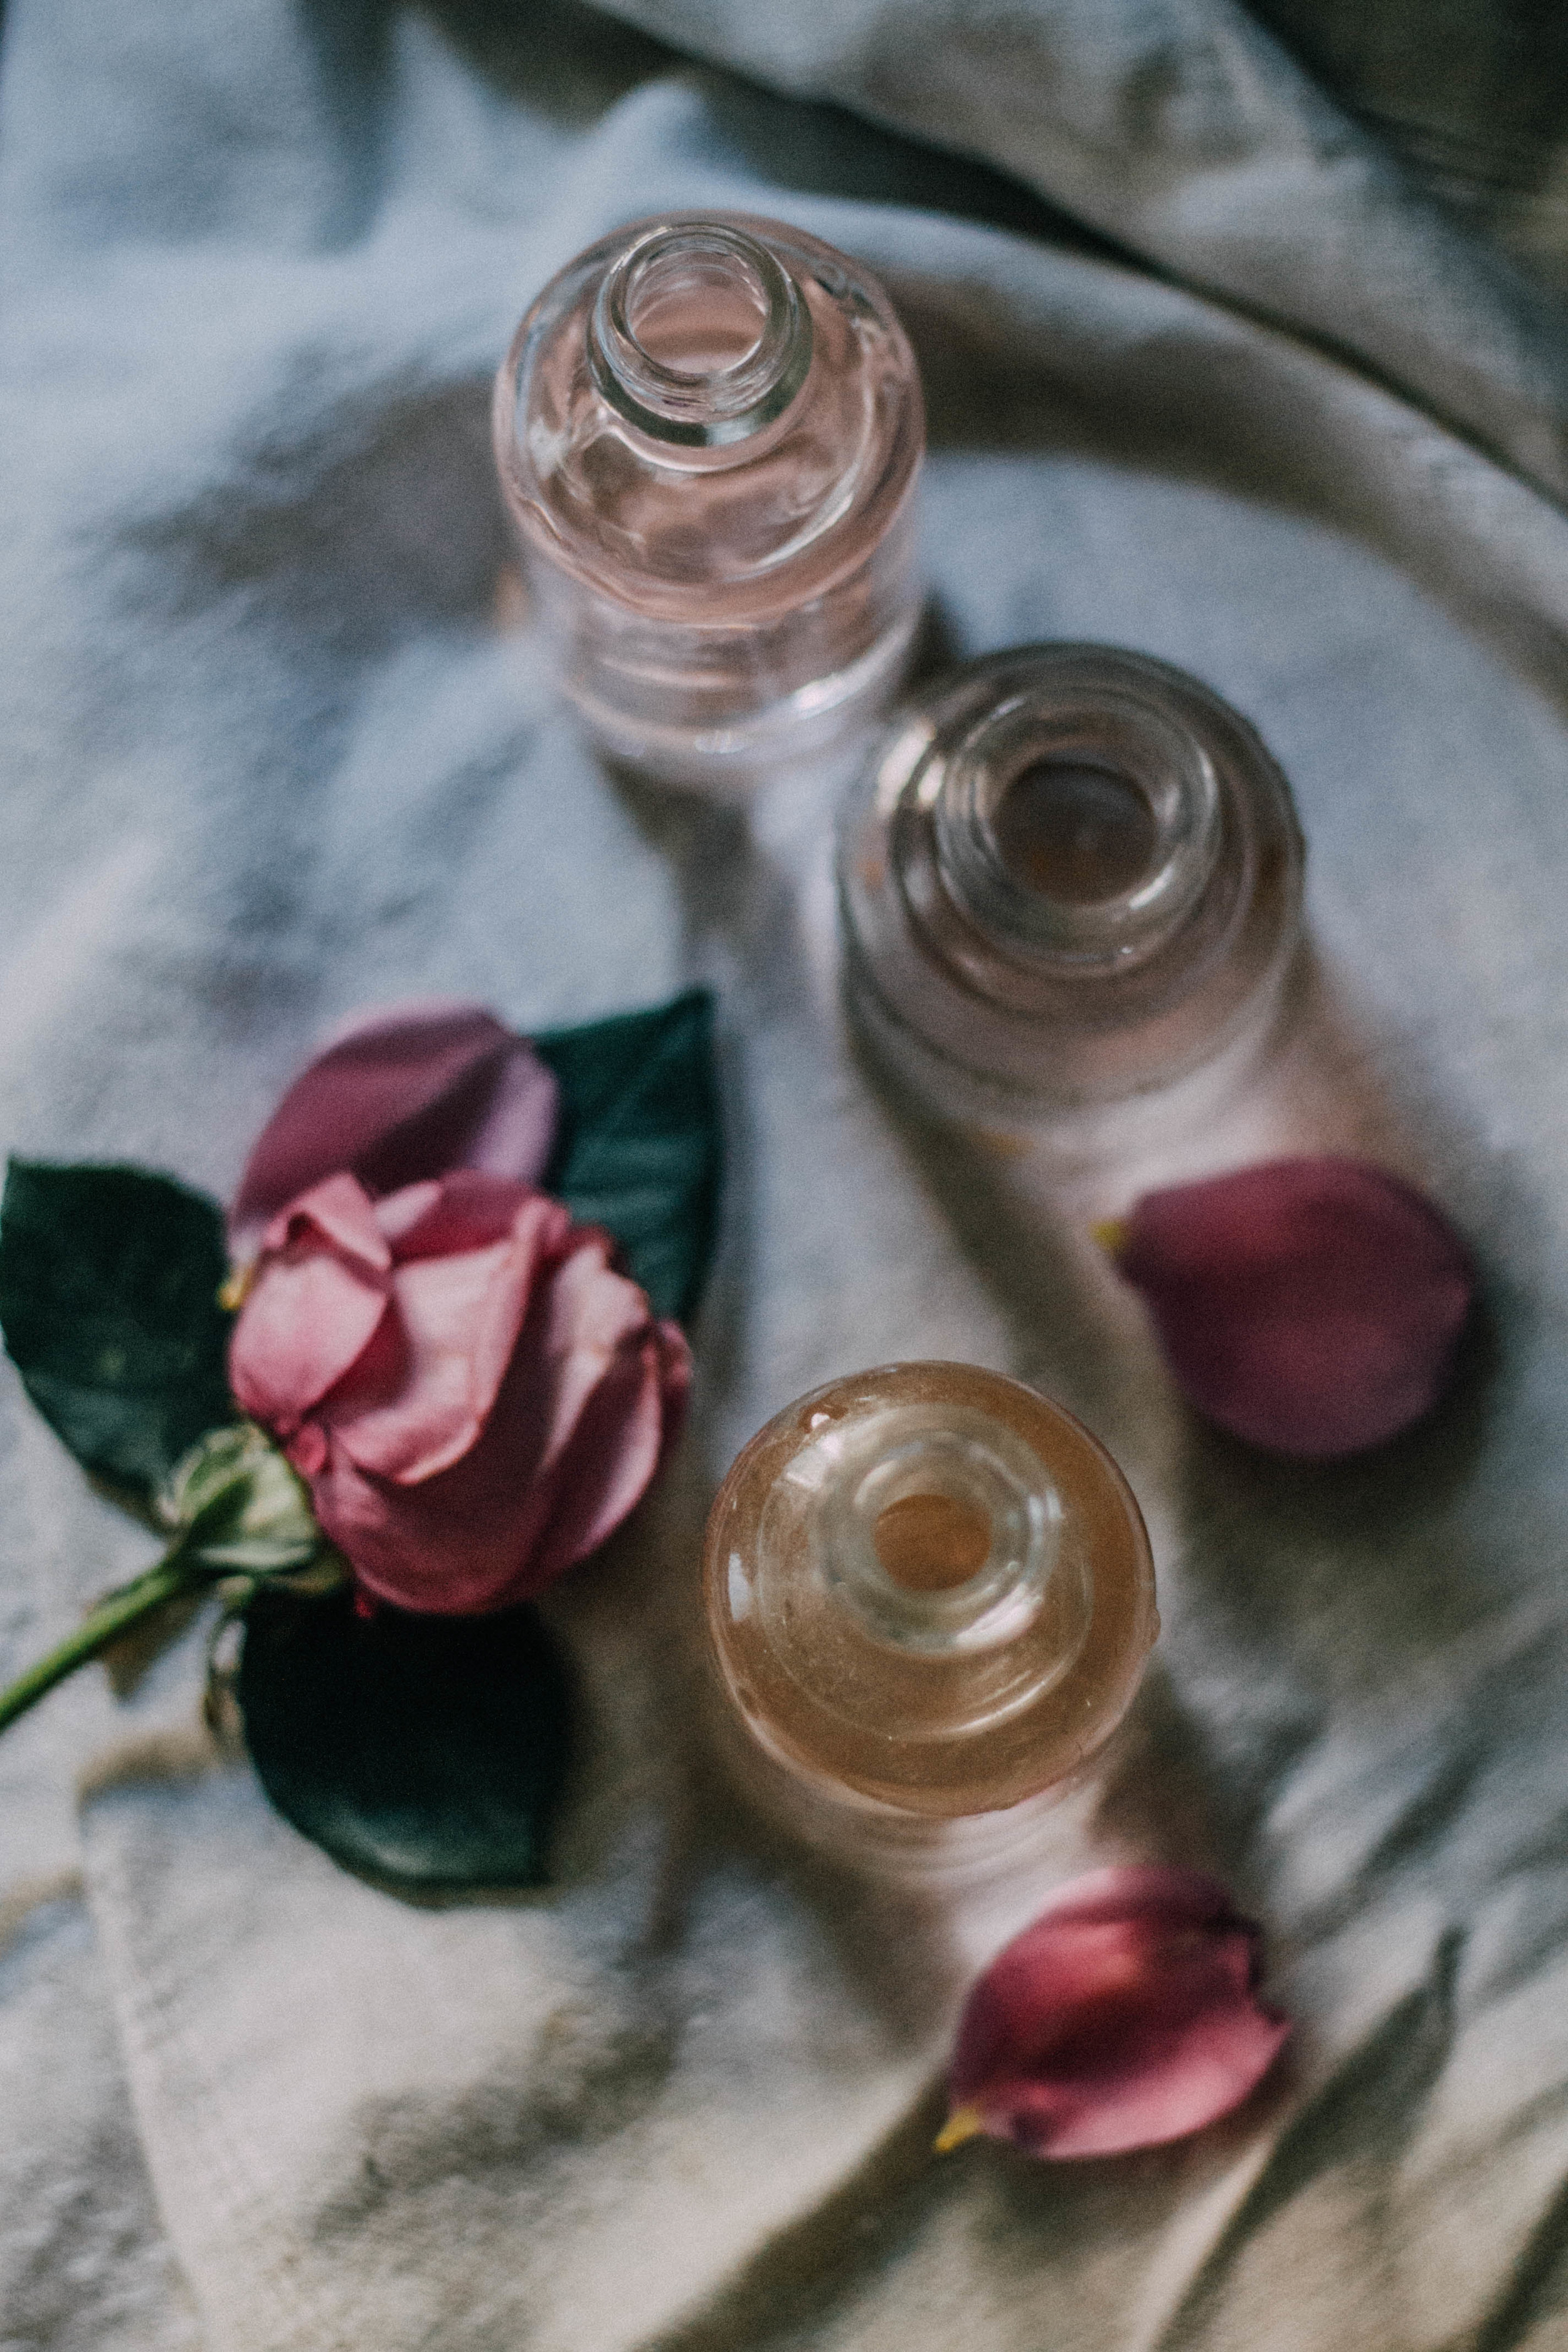
6 | Place funnel and strain- Whether your using a glass bottle or plastic container, you'll definitely want to strain the petals through a fine mesh to eliminate as many loose particles as possible.
7 | Storage- You'll want to store the rosewater in the fridge to keep it fresher longer. Be sure to use in 4-6 weeks time.
8 | Enjoy- You can immediately start enjoying the benefits of your freshly made rosewater! Add to a spray bottle and lightly mist your face for a refreshing blast of coolness that will brighten and tone your skin.
I'd love to hear if any of you try the recipe, let me know how you like it. More DIYs, and tutorials like this to come. They're too fun not to. - b.