Posts in flowers
ANATOMY OF A BOUQUET NO. 3
roses & eucalyptus | anatomy of a bouquet | image via: bekuh b.

After a prolonged break, I'm excited to get back into flower arranging. Practice makes perfect as they say. There's no better way to throw myself back into this, than to start with an anatomy of a bouquet.

This month's bouquet is a rosy mix, with unexpected textures to keep the blooms feeling fresh, and approachable. The soft aroma filled our tiny living room, and with my eyes closed I almost believed I was sitting among the roses in an English garden.

1 | Standard Roses- Typically relegated to my "do not buy" list at the grocery flower counter, I decided to challenge myself with including them in this assortment. They were my statement flower, and to help open them a little wider I used my fingers to push the petals apart. This made them feel a little more organic and less austere.

2 | Spray Roses- Petite and delicate, I love to use spray roses as my "filler" flower in bouquets. I tend to be drawn to white or soft pinks in these types of flowers, but similar to carnations you can find them in almost any hue.

3 | Leucadendron- This exotic leafy filler has become a favorite of mine. Each bunch feels slightly different than the last, though the spiky texture remains consistent. It's that unexpected touch that makes the roses feel less sweet.

4 | Eucalyptus- I love the almost medicinal smell of eucalyptus, and the variety of leaf styles in this genus. I like to pickup a fresh batch now and again to hang in our shower, so this inclusion served double duty for me. Selfish I know.

Check back tomorrow for the finished bouquet- it's a blushing beauty. - b.

SPRING'S RENEWAL
tulips and daffodils in spring | image via: bekuh b.

And so, once again we begin a new chapter in our lives. It is a time of renewal, rebirth, and resurrection and I embrace these re- with arms wide open. Now more than ever I look forward to spring's cleansing abilities for both mind and body. 

I lost someone dear and irreplaceable to me this winter, and his loss has left a hole in my family's hearts that will never fully close. I have only our shared memories to hold onto and pieces of his spirit to carry with me. Perhaps in time I will be able to articulate how very unique and special my Grandpa was, but today my eyes only well up with tears, and my voice catches in my throat at the very mention of his name.

tulips and daffodils in spring | bekuh b.

This change in season is very needed. I know I'm not alone in that feeling. So how should the chapter begin? - b.

tulips and daffodils in spring | bekuh b.
DIY ROSE WATER
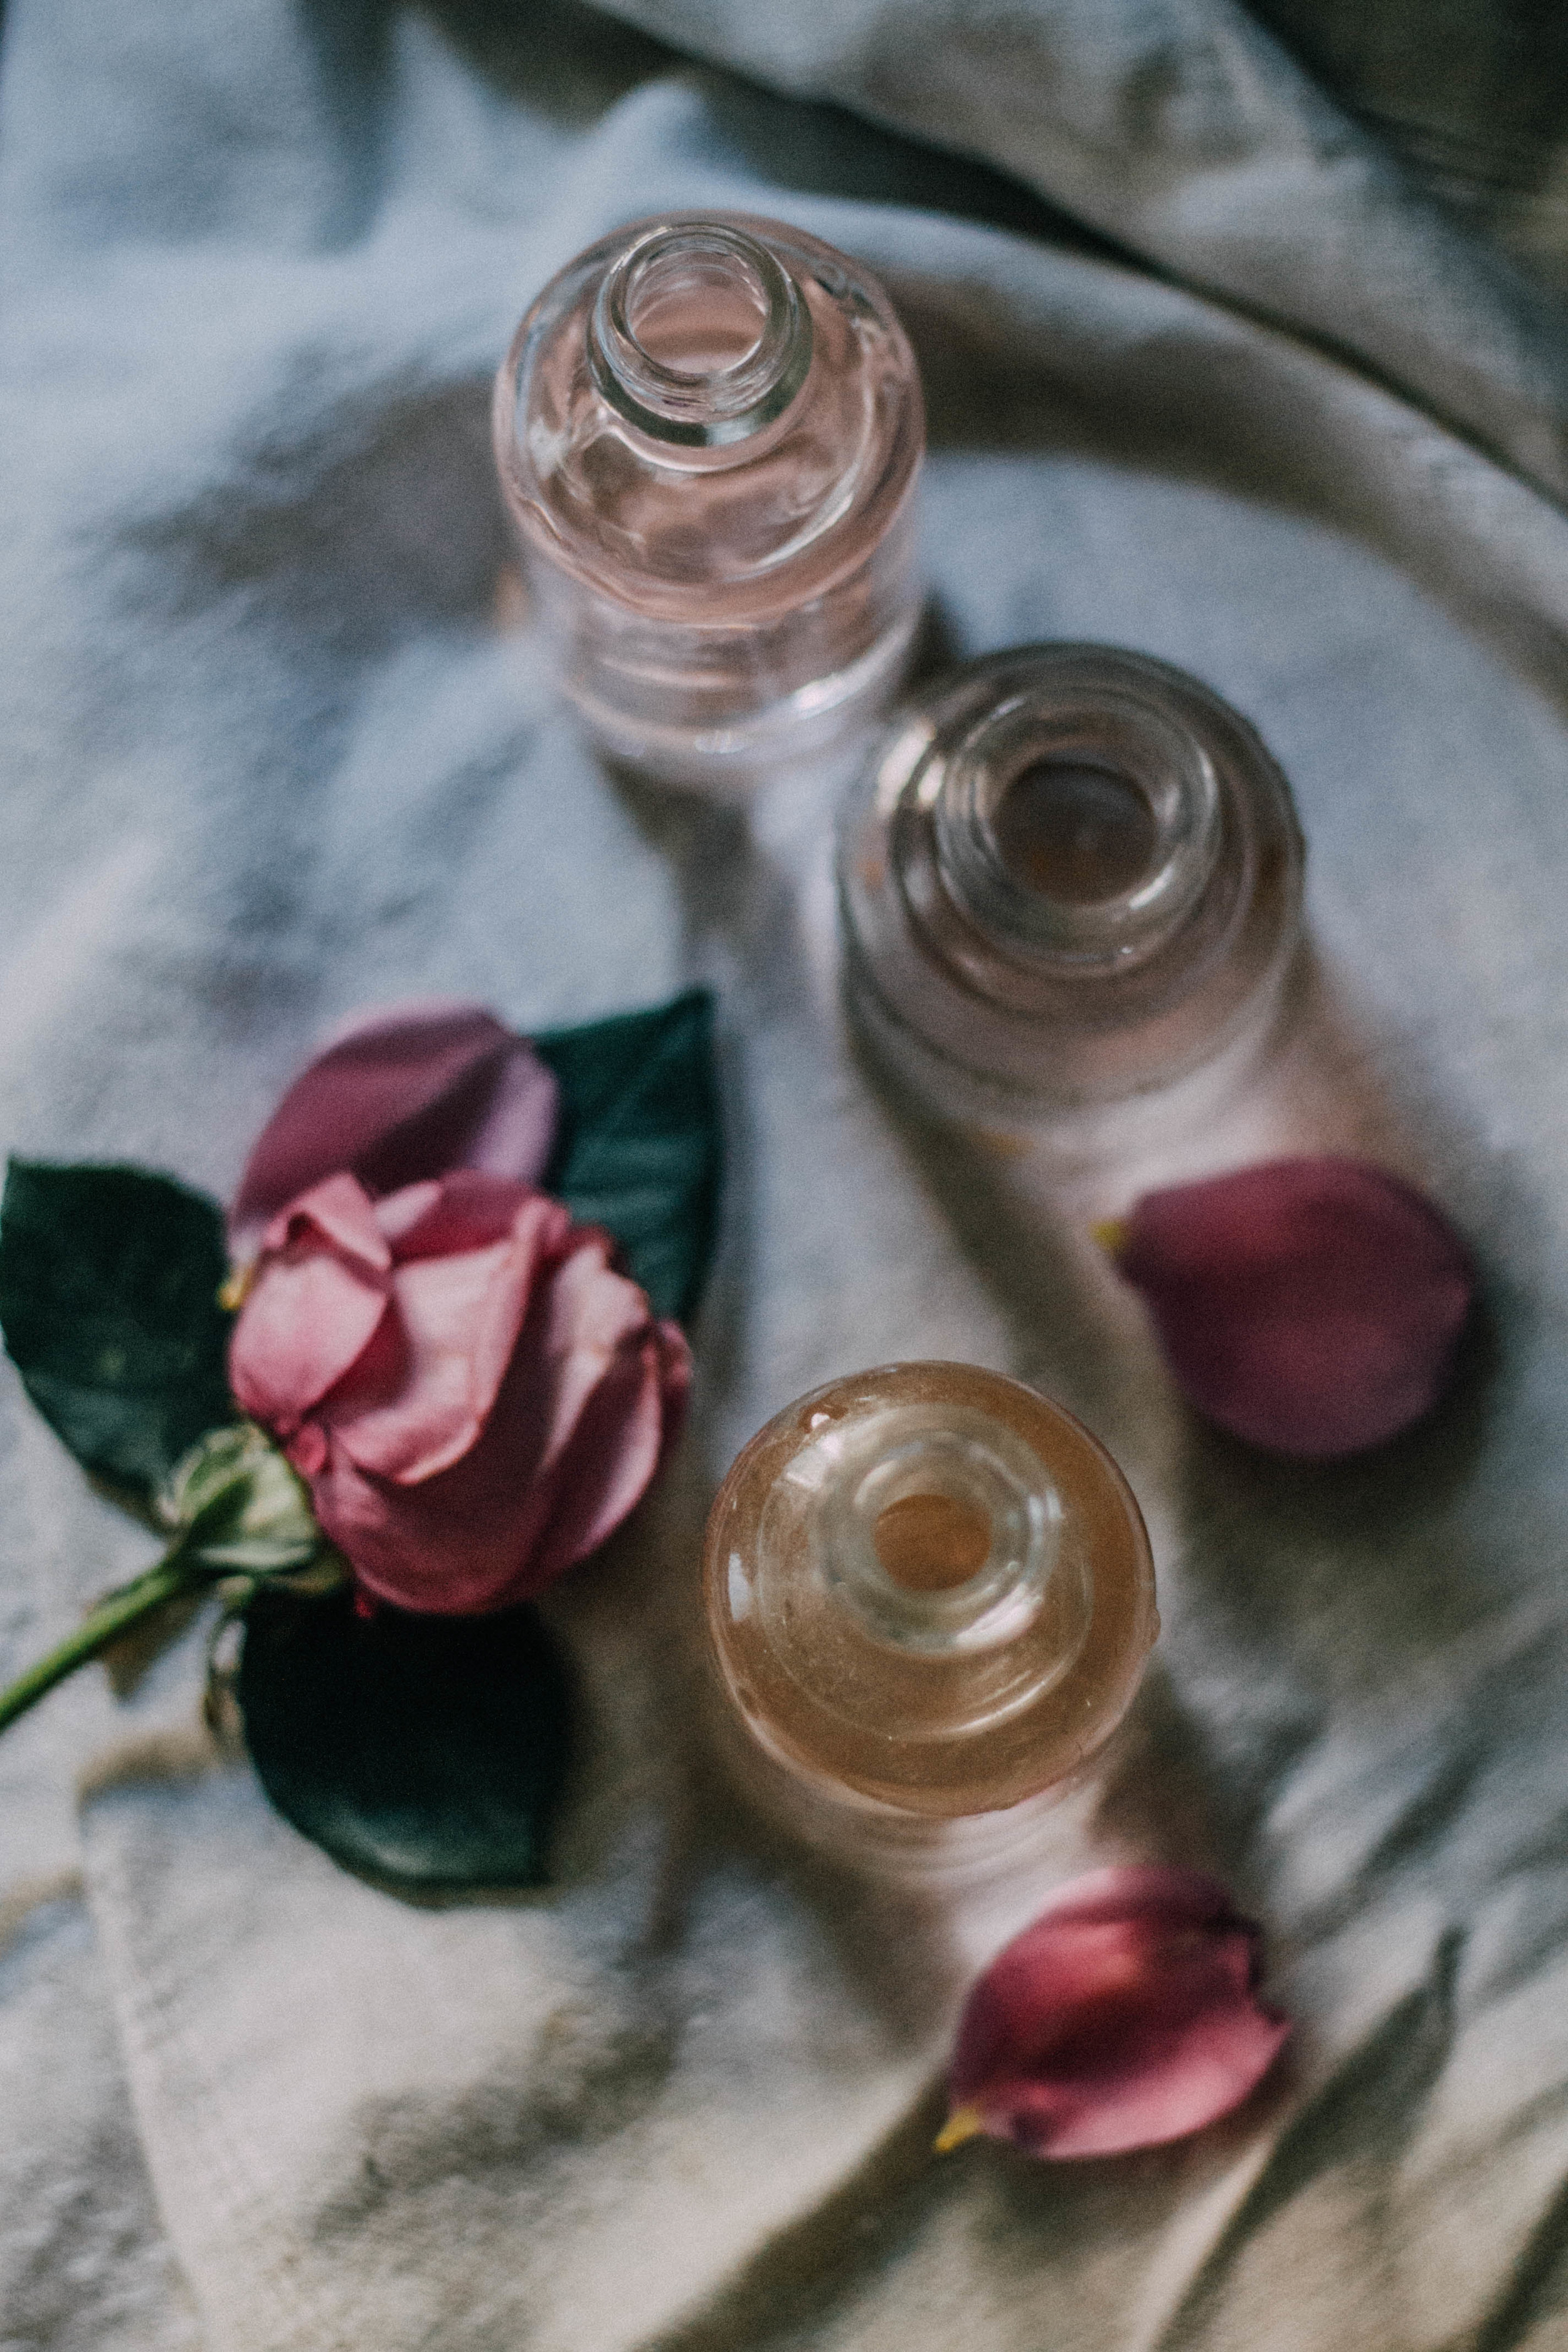
diy rose water tutorial | via: bekuh b.

With my love of flowers and passion for natural living, it was only a matter of time before I started finding ways to combine the two. My first foray, and most recent obsession? Rosewater. Though readily available at most grocery stores, rosewater often contains a lot of chemicals and preservatives, which is why I decided to start making my own. You'd be surprised how easy it is to do, and it makes your house smell amazing in the process!

Health and beauty benefits abound for this magical elixir- Cleopatra is said to have called it the fountain of youth. Though I wouldn't go as far as that, I can attest to its toning and anti-inflammation properties. In addition to the beauty benefits, you can also include it in room sprays and all-natural cleaning supplies. A simple internet search will reveal just how many ways it can be used, but today we'll stick to the basics, making the rosewater itself.

Scroll down for the tutorial...

diy rose water tutorial | via: bekuh b.

diy rosewater

1 | Gather your supplies- You'll need 2-3 organic roses, distilled water, a pan, fine-mesh strainer, funnel, and a glass bottle or storage container. It's very important that the roses are organic as any chemical pesticides will release into the water tainting the finished product.

2Remove & wash petals- Even though the roses you've collected are organic you should still wash them gently under room temperature water before proceeding. This will remove any dirt or bugs that might be hiding in the petals.

3 | Place petals in the pan & cover with water- You don't have to be super specific about the amount of water you use, a good general rule is to fill it so there's 1-2 inches of water over the petal baseline.

4Simmer on medium-low heat- Steep the rose petals, like a tea, until the water is a nice rosy color. It will smell divine.

5Cool the rose water- Turn the heat off and let the water cool completely. You don't want to burn yourself.

diy rose water tutorial | via: bekuh b.

6 | Place funnel and strain- Whether your using a glass bottle or plastic container, you'll definitely want to strain the petals through a fine mesh to eliminate as many loose particles as possible.

7 | Storage- You'll want to store the rosewater in the fridge to keep it fresher longer. Be sure to use in 4-6 weeks time.

8 | Enjoy- You can immediately start enjoying the benefits of your freshly made rosewater! Add to a spray bottle and lightly mist your face for a refreshing blast of coolness that will brighten and tone your skin.

I'd love to hear if any of you try the recipe, let me know how you like it. More DIYs, and tutorials like this to come. They're too fun not to. - b.

create, flowersBekuh Browningdiy