Posts tagged projects
PAINTING TIPS: 7 STEPS TO A SMOOTH FINISH
PAINTING TIPS: 7 STEPS TO A SMOOTH FINISH | via: chatham st. house

I'm *this* close to being finished with painting the ground floor. A few more tweaks in the living room and vestibule and we'll have a freshly hued look in every corner.  With all this painting going on, I've done a fair bit of research on how to best tackle painting a room, and I'd like to think I've learned a thing or 2 along the way. Because I'm so generous I thought I'd put together my favorite painting tips for a smooth finish. 

STEP 1:

Test paint colors. I recommend trying at least 3 shades BEFORE choosing your favorite hue. 


Pro Tip: Paint a 1' x 1' square in 1-2 locations around the room to see how the paint will look in different light. I love the testers size at Home Depot!

We went with the bolder coral color - Behr's Marquee Paint in Cockleshell

dining room paint story-2.jpg

STEP 2:

Fill holes + CRACKS. CAULK ANY SEAMS ALONG WOODWORK, putty HOLES and DIVETS IN WALLs.


Pro Tip: If you're going to rehang something (like curtains) in the same place you don't need to fill in the holes.

dining room paint story-5.jpg

STEP 4:

Prep the space to paint. Tape ALONG floor, cover any non-moveable features, and lay DROP CLOTHS.


Pro Tip: Don't worry about taping windows, use your paint scraper to remove any painting mishaps instead!

dining room paint story-12.jpg

STEP 6:

Cut in along woodwork. Using an angled brush paint around all windows, doors, and baseboards before starting on the walls.


Shh - I cheated a little...
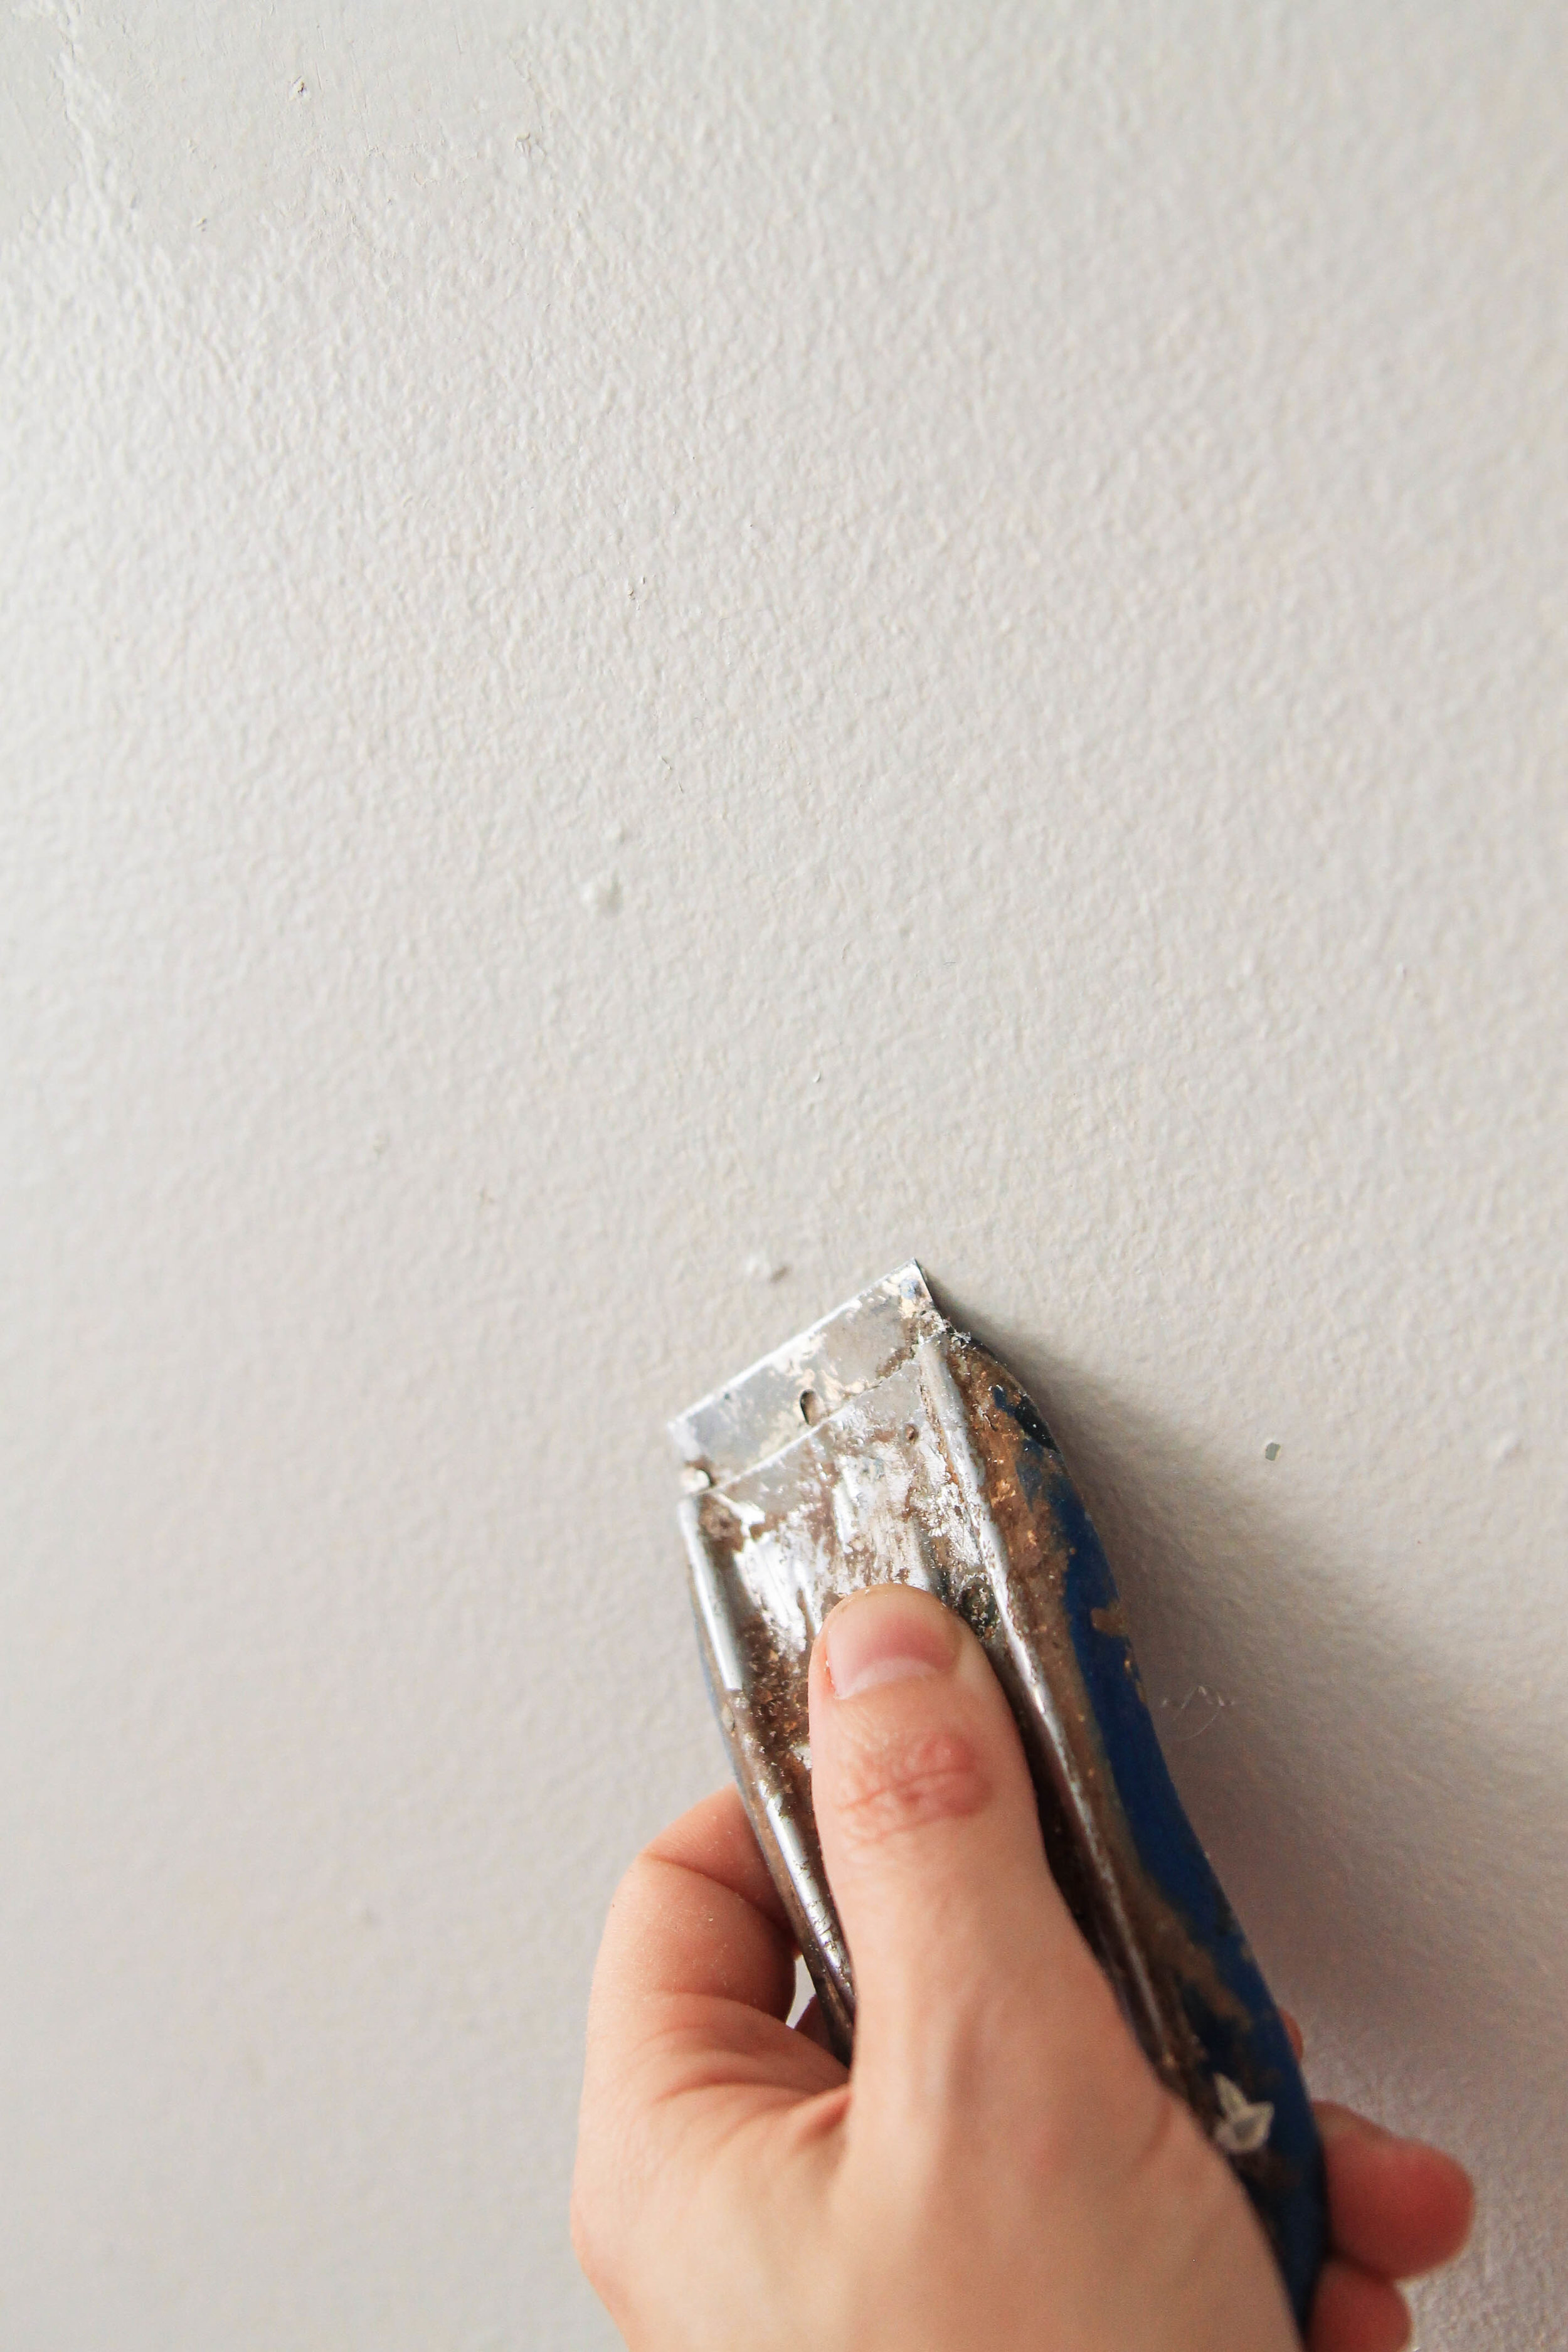
dining room paint story-17.jpg
dining room paint story-1.jpg
dining room paint story-4.jpg

STEP 3:

Smooth surface. Scrape bumps and sand filled holes.


You can buy drywall sanding blocks for the wall, and I'm addicted to my Warner Steel Paint Scraper from Lowes.

dining room paint story-11.jpg

STEP 5:

Ceilings + Woodwork first! For the cleanest finish always start with painting the details before starting on the walls.


Pro Tip: Don't be stingy around woodwork, allow about 1-2" of overlap on the walls so your paint job will be seamless

dining room paint story-14.jpg

STEP 7:

ALLOW PAINT TO FULLY DRY BETWEN COATS. SECOND COATS ARE RECOMMENDED. 


Even "one coat guaranteed" brand paints may require a second coat depending on how porous your wall surface is, or how generous you are with your paint-filled roller. I say better safe than sorry.

Do you have any painting tips you'd like to share? Head over to Instagram and share them on the partner gram to this post. - b.

Dining Room Paint-2.jpg
FLOWER HOMEWORK NO. 4 | BRIDAL BOUQUET + BOUTONNIÉRE
pink mums and garden roses | via: bekuh b.

It's been four weeks of flower gorgeousness at my house, but sadly this is my last flower homework post. For our final homework assignment in Flower Arranging 101 we were tasked with creating a bridal bouquet and boutonniere. When I think bridal bouquet I think large luscious roses, delicate sprays and airy greens- what was available to me however was not quite the stuff of dreams. 

mum + garden rose bridal bouquet | via: bekuh b.
white + green rose boutonnière | via: bekuh b.
bridal bouquet | via: bekuh b.
wild bunch | via: bekuh b.

I did my best with pink fluffy mums, white and green spray roses, wildflowers, and seeded eucalyptus and the results surprised me. Though not as full as perhaps I'd hoped the final bouquet felt lush, organic, and feminine. Something I would have carried at my own wedding. For the boutonniere I paired the spray roses with the wildflowers and seeded eucalyptus to subtly nod to the bridal bouquet without all the girly-ness.

I'm proud of these final projects and think they showcase perfectly how much I've learned in this class. I look forward to using these newly acquired skills for years to come. Our Thanksgiving centerpiece will be a sight to see. - b.

see the rest of the homework:  1  |  2  |  3  

FLOWER HOMEWORK NO. 3 | FLOWER CROWN
rosebud flower crown | via: bekuh b.

I’m well into my final week of Flower Arranging 101, but let’s take a moment and bask in the assignment that was last week. For our week 3 homework we were asked to create a flower crown using delicate fresh flowers. I decided to use this opportunity and really let my girlie-side shine through.

rosebud flower crown | via: bekuh b.

I was a little crestfallen when I first learned this would be our homework assignment, I mean what girl in her twenties hasn’t made a flower crown for one event or another? And let’s be honest the trend is a little played out. BUT, Chelsea taught us a really amazing technique that made the whole flower crown making experience go a lot faster. Her tip was to make lots of mini bouquets wrapped in floral tape first, then you attach those to the wire base for your crown. It made the whole crown sturdier, cleaner looking, and easy to assemble. If only I’d known sooner...

For my take on the traditional flower crown I decided to use blush bud roses, chamomile flowers, and yellow solidago. The result feels very springy, sweet, and feminine. It reminded me of these dried flower crowns my mom would buy me at the Yankee Peddler craft fair every year growing up- very maid marian if you ask me. - b.

rosebud flower crown | via: bekuh b.

See the other assignments: 1 | 2