Posts tagged renovated
PAINTING TIPS: 7 STEPS TO A SMOOTH FINISH
PAINTING TIPS: 7 STEPS TO A SMOOTH FINISH | via: chatham st. house

I'm *this* close to being finished with painting the ground floor. A few more tweaks in the living room and vestibule and we'll have a freshly hued look in every corner.  With all this painting going on, I've done a fair bit of research on how to best tackle painting a room, and I'd like to think I've learned a thing or 2 along the way. Because I'm so generous I thought I'd put together my favorite painting tips for a smooth finish. 

STEP 1:

Test paint colors. I recommend trying at least 3 shades BEFORE choosing your favorite hue. 


Pro Tip: Paint a 1' x 1' square in 1-2 locations around the room to see how the paint will look in different light. I love the testers size at Home Depot!

We went with the bolder coral color - Behr's Marquee Paint in Cockleshell

dining room paint story-2.jpg

STEP 2:

Fill holes + CRACKS. CAULK ANY SEAMS ALONG WOODWORK, putty HOLES and DIVETS IN WALLs.


Pro Tip: If you're going to rehang something (like curtains) in the same place you don't need to fill in the holes.

dining room paint story-5.jpg

STEP 4:

Prep the space to paint. Tape ALONG floor, cover any non-moveable features, and lay DROP CLOTHS.


Pro Tip: Don't worry about taping windows, use your paint scraper to remove any painting mishaps instead!

dining room paint story-12.jpg

STEP 6:

Cut in along woodwork. Using an angled brush paint around all windows, doors, and baseboards before starting on the walls.


Shh - I cheated a little...

dining room paint story-17.jpg
dining room paint story-1.jpg
dining room paint story-4.jpg

STEP 3:

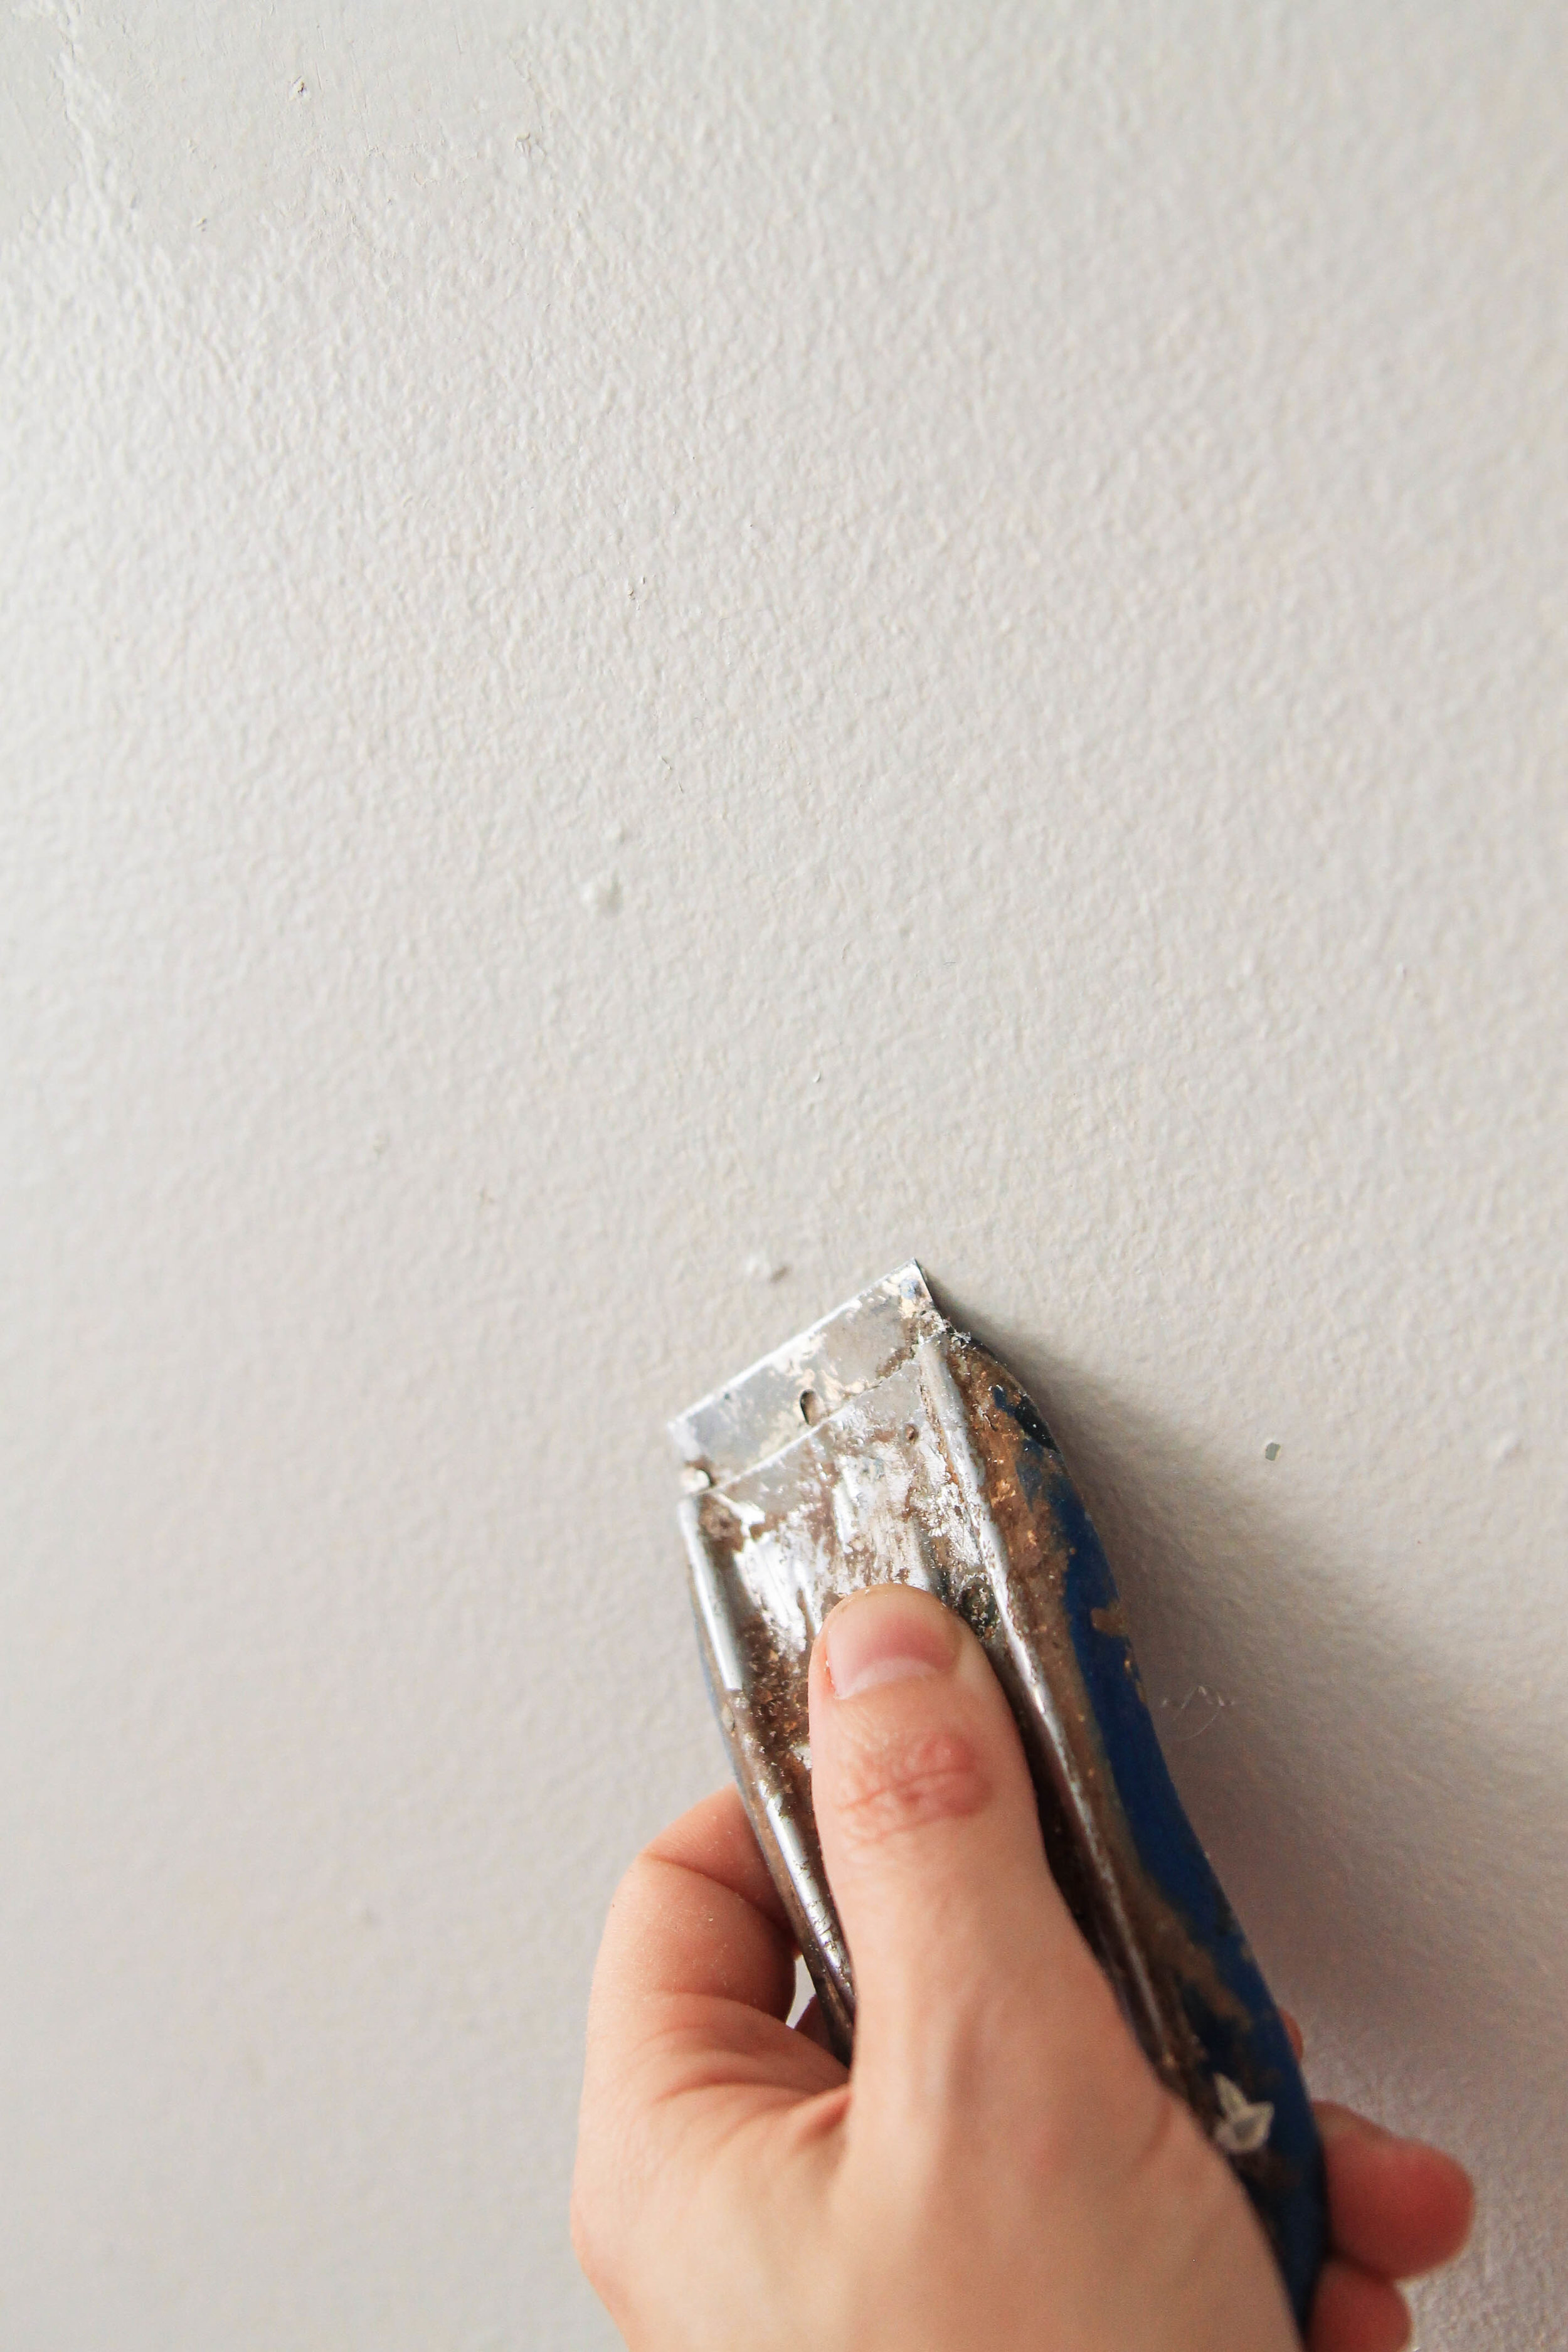
Smooth surface. Scrape bumps and sand filled holes.


You can buy drywall sanding blocks for the wall, and I'm addicted to my Warner Steel Paint Scraper from Lowes.

dining room paint story-11.jpg

STEP 5:

Ceilings + Woodwork first! For the cleanest finish always start with painting the details before starting on the walls.


Pro Tip: Don't be stingy around woodwork, allow about 1-2" of overlap on the walls so your paint job will be seamless

dining room paint story-14.jpg

STEP 7:

ALLOW PAINT TO FULLY DRY BETWEN COATS. SECOND COATS ARE RECOMMENDED. 


Even "one coat guaranteed" brand paints may require a second coat depending on how porous your wall surface is, or how generous you are with your paint-filled roller. I say better safe than sorry.

Do you have any painting tips you'd like to share? Head over to Instagram and share them on the partner gram to this post. - b.

Dining Room Paint-2.jpg
DIY ($30) DINING ROOM LIGHT
$30 diy dining room light | via: chatham st. house

What do you do when you want a home that looks straight out of House Beautiful, but your budget is more in line with Target pricing? You get crafty! During a recent sample sale I scored an oversized dome light for just $10 bucks, the issue? It was a hideous shade of aqua! Instead of passing on the deal, I decided to put my art degree to good use and reinvent the lighting. A couple of coats of paint (and a lot of lessons learned) later, it's the crown jewel of our dining room.

My first course of action was to wash the light and shorten the massively long cord to a more reasonable length. To do this, I unscrewed the closure at the crown (where the light connects to the ceiling) and pulled it through to my desired length. I then tightened the screw back up, cut the cord about 6" away from the crown, and used wire strippers to clean off about 1/2" inch of the cord for mounting.

$30 diy dining room light | via: chatham st. house

There was a lot of trial and error with this project. I first tried painting the light with gold metallic paint, ignoring everything I know about painting (i.e. prime the surface before painting). It peeled off almost immediately. I then tried using DecoArt's Metallic Lustre Wax Finish first, followed by the gold paint and this stuck much better. The paste hardens really quickly, creating a seal.

It did not however look like a real metallic fixture....Back to the drawing board.

$30 diy dining room light | via: chatham st. house

I finally caved and decided to go the spray paint route, using the metallic wax finish as a top coat. This gave it the burnished brass look I was looking for. Finally I cut off the worn out fabric casing on the cord and carefully wrapped it in electrically tape, keeping it the original black.

So, a couple of notes for those wanting to attempt this at home:

  1. Prime your surface first
  2. Spray paint will give the smoothest, more finished look
  3. I highly recommend DecoArt's Metallic Lustre Wax Finish as a sealant. It dries rock hard and looks divine
  4. Thin the wax finish with water before applying, a very small amount will do. This will allow the spray paint undercoat to partially show through
  5. Polish the finish after it dries. The more you polish, the shinier it will become

I'm very happy with the results and will be on the hunt for more thrifty light purchases in the future. It only gets easier with every project, right? right...? - b. 

$30 diy dining room light | via: chatham st. house
    homeBekuh Browningdiy, renovated
    WEEKEND PROJECTS PT. 2
    weekend projects pt. 2 | chatham st. house

    Raise your hand if you spend your weekends working on an endless list of home projects? No? Must only be me then. Lately I've been tackling some of the smaller annoyances on my list, along with one really big project (see project 3). I like to think that together they make a bigger overall impact. Here are 3 to-dos I'm very happy to have crossed off the list - 

    weekend projects pt. 2 | mismatched door knobs | via: chatham st. house
    weekend projects pt. 2 | mismatched door knobs | via: chatham st. house
    weekend projects pt. 2 | mismatched door knobs | via: chatham st. house

    Project 1: Replacing mismatched door handles (sort of)

    Fun fact, all of the door knobs in our house were different styles and finishes, no two were alike. Kind of like snowflakes, but unlike snowflakes I was not a fan of this unique quirk. The issue with immediately going out and buying new door knobs, was the fact I want all of the features in the hall and foyer to be aged brass, and the features in the second floor rooms to be brushed nickel. What to do?

    We have 4, non-closet, interior doors - 2 bedroom doors, 1 basement door, and 1 bathroom door. The bathroom obviously needs to lock, but the other doors were a little unnecessary. So, I bought 2 Schlage Georgian Privacy Knobs (1 stain nickel / 1 aged brass), and 2 Schlage Georgian Passage Knobs (1 stain nickel / 1 aged brass).

    I took the knobs apart and created my own version of mismatched doorknobs - The interior knob is the Schlage satin nickel, and the exterior knob is Schlage aged brass. I'd like to think they're a little more tasteful than our original scenario though.

    weekend projects pt. 2 | updating a heating grate | via: chatham st. house
    weekend projects pt. 2 | updating a heating grate | via: chatham st. house

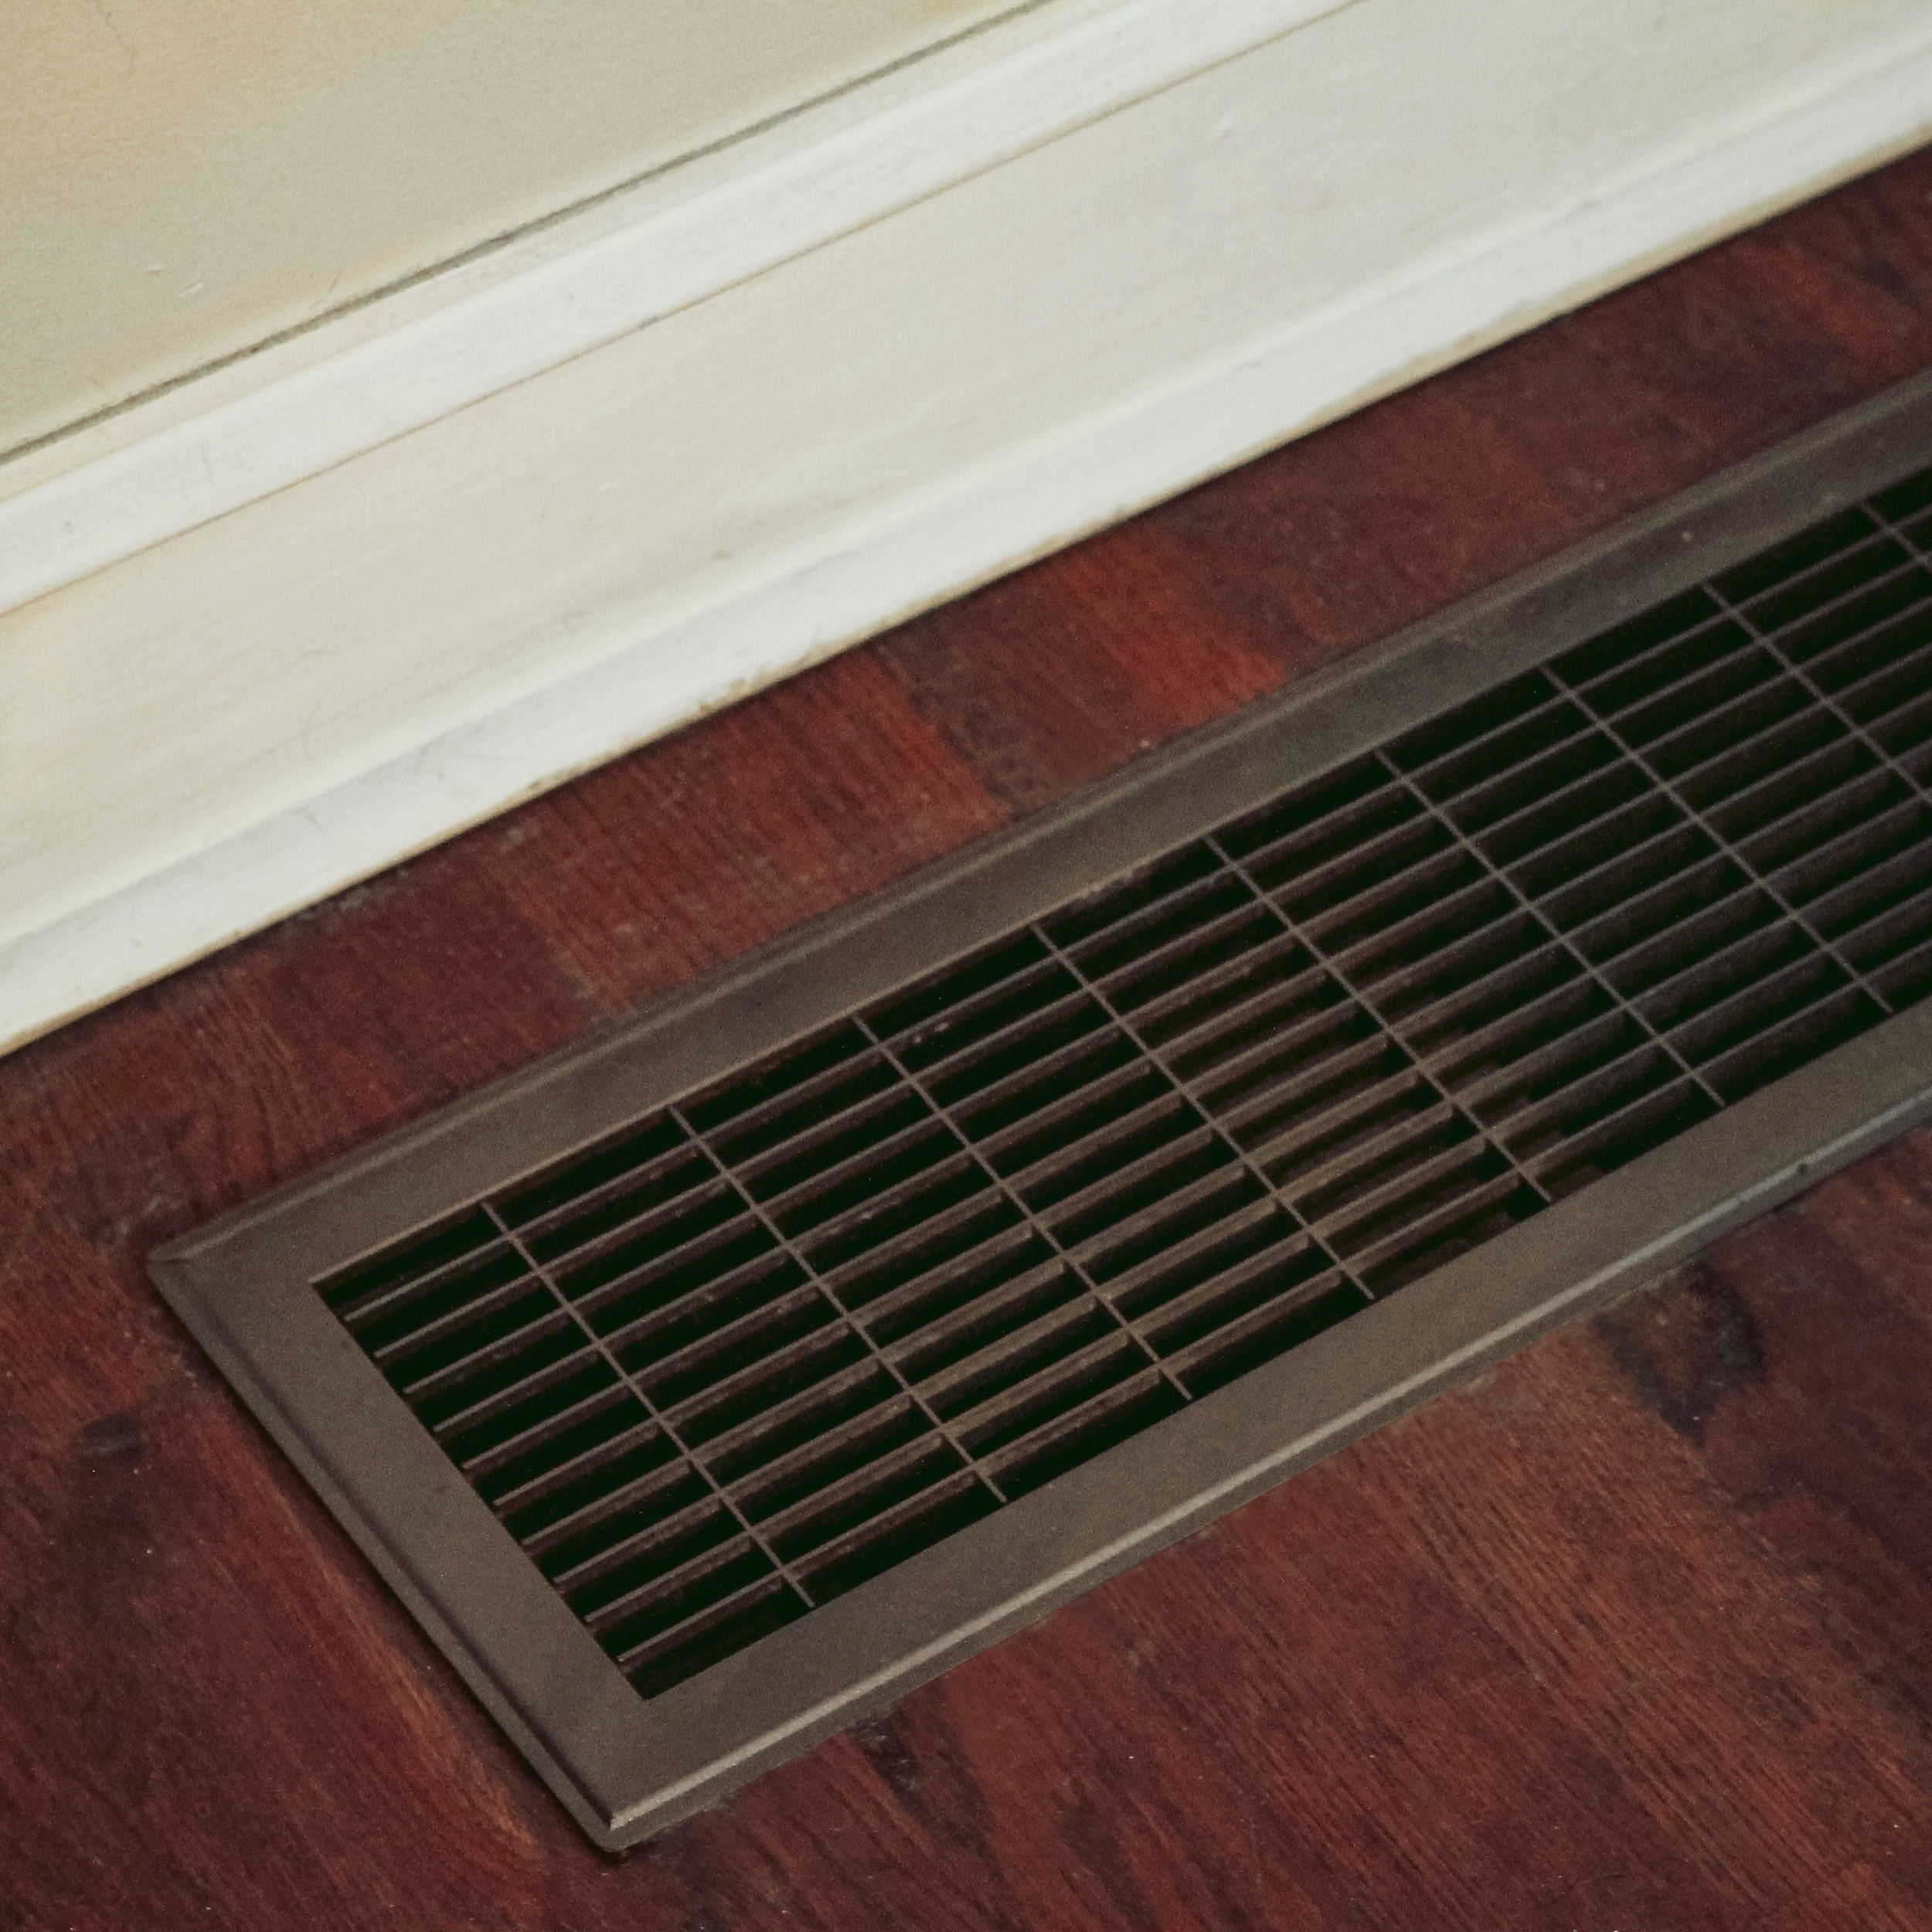
    Project 2: A temporary heating grate update

    Next on the list was a rather large and ugly intake vent in our living room. It was rusty, beat up, and an all around eye sore. I don't have the budget to upgrade it yet, so I scrubbed it down, and gave it a good coat or two with Rust-Oleum Spray Paint.  It's not perfect, but it looks a lot better and will keep me from wanting to rip my hair out every time I open our basement door.

    weekend projects pt. 2 | stripping the main staircase | chatham st. house

    Project 3: Stripping the staircase

    Our biggest renovation project to-date has been the staircase. We've spent the last month slowly (slowly) stripping the steps, sanding them, repairing the banisters, and testing paint colors. The detailed woodwork has been revealed and it made the entire effort worthwhile. We thought we were sold on a paint color, and then I started testing shades on the wall and realized I don't at all. I'm looking for an almost black blue, but the lighter walls are making it read navy not black. Back to the drawing board... - b.