Posts tagged tips tricks
WEEKEND PROJECTS PT. 2
weekend projects pt. 2 | chatham st. house

Raise your hand if you spend your weekends working on an endless list of home projects? No? Must only be me then. Lately I've been tackling some of the smaller annoyances on my list, along with one really big project (see project 3). I like to think that together they make a bigger overall impact. Here are 3 to-dos I'm very happy to have crossed off the list - 

weekend projects pt. 2 | mismatched door knobs | via: chatham st. house

Project 1: Replacing mismatched door handles (sort of)

Fun fact, all of the door knobs in our house were different styles and finishes, no two were alike. Kind of like snowflakes, but unlike snowflakes I was not a fan of this unique quirk. The issue with immediately going out and buying new door knobs, was the fact I want all of the features in the hall and foyer to be aged brass, and the features in the second floor rooms to be brushed nickel. What to do?

We have 4, non-closet, interior doors - 2 bedroom doors, 1 basement door, and 1 bathroom door. The bathroom obviously needs to lock, but the other doors were a little unnecessary. So, I bought 2 Schlage Georgian Privacy Knobs (1 stain nickel / 1 aged brass), and 2 Schlage Georgian Passage Knobs (1 stain nickel / 1 aged brass).

I took the knobs apart and created my own version of mismatched doorknobs - The interior knob is the Schlage satin nickel, and the exterior knob is Schlage aged brass. I'd like to think they're a little more tasteful than our original scenario though.

weekend projects pt. 2 | updating a heating grate | via: chatham st. house

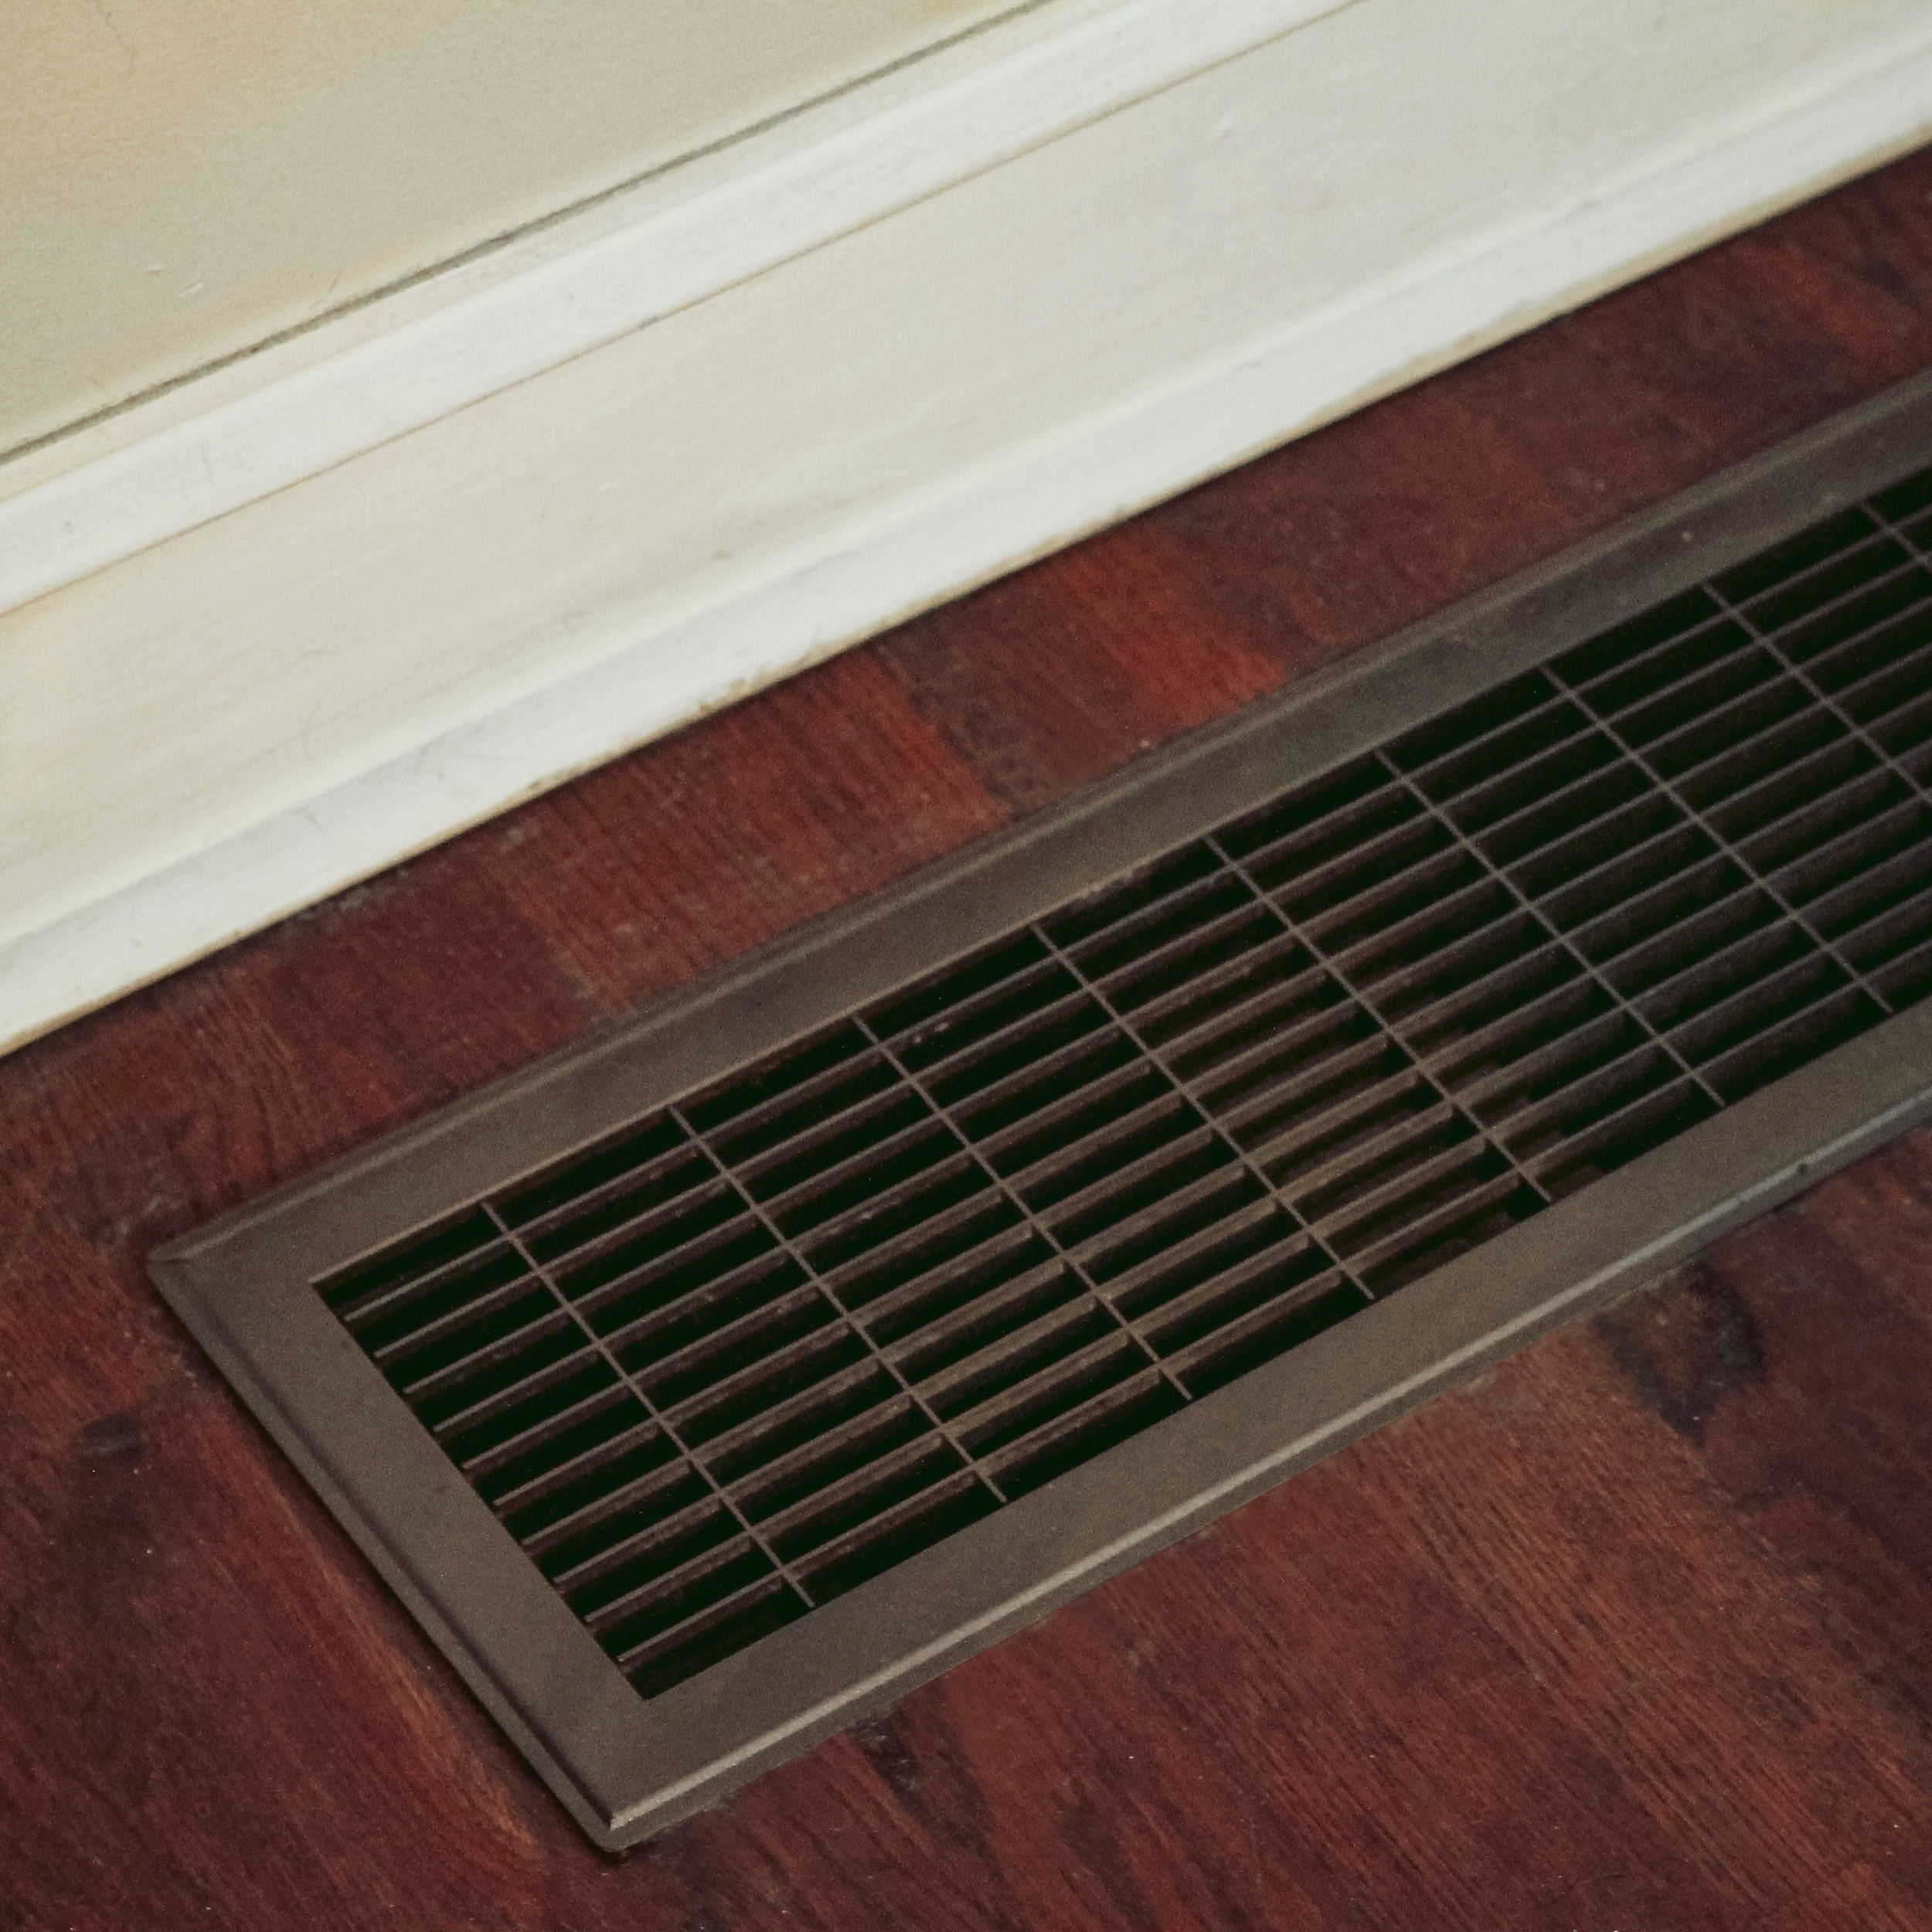
Project 2: A temporary heating grate update

Next on the list was a rather large and ugly intake vent in our living room. It was rusty, beat up, and an all around eye sore. I don't have the budget to upgrade it yet, so I scrubbed it down, and gave it a good coat or two with Rust-Oleum Spray Paint.  It's not perfect, but it looks a lot better and will keep me from wanting to rip my hair out every time I open our basement door.

weekend projects pt. 2 | stripping the main staircase | chatham st. house

Project 3: Stripping the staircase

Our biggest renovation project to-date has been the staircase. We've spent the last month slowly (slowly) stripping the steps, sanding them, repairing the banisters, and testing paint colors. The detailed woodwork has been revealed and it made the entire effort worthwhile. We thought we were sold on a paint color, and then I started testing shades on the wall and realized I don't at all. I'm looking for an almost black blue, but the lighter walls are making it read navy not black. Back to the drawing board... - b.

WEEKEND PROJECTS PT. 1
chatham st. house foyer

Holding true to my motto to do a little bit everyday, I thought I'd share a few of the projects I have going on right now. There seems to be a never ending supply of them, so I've already taken the liberty of calling this Part One as I anticipate many more of these posts. I'm doing everything from hanging artwork, to caulking windowsills, to scraping film off our front window.

Here are a couple of DIY renovation tips I've picked up along the way... 

weekend projects: caulking tips | via:  chatham st. house

When caulking (anything), make sure you have a wet cloth and a plate or board to lay the gun down on. Some caulking tubes like to ignore your every desire to control their release and you'll having oozing caulk on every surface if you aren't careful. The wet cloth is to clean up messes that will occur, and the board or plate will catch any excess when you need to lay the gun down.

weekend projects: spackling tips | via:  chatham st. house

Spackling is not a fine art and I am confident anyone can do it. One thing I've discovered is that you cannot rush this process. Apply thin coats and let them dry completely before adding the next. This thin application will ensure a smooth finish. Also, always sand and prime them before you paint.

weekend projects: removing window film | via: chatham st. house

Removing window film or a stubborn sticker is about to get a whole lot easier. Simply spray a mix of soapy water on the surface, and cover with a sheet of plastic (I've been using bubble wrap due to an abundance from moving). Let this sit for 1-2 hours and carefully scrap or peel away. I used a scraper tool. You'll be amazed at how much easier it comes off and you'll have a squeaky clean finish.

Next on my list? More caulking. There a small cracks in all our baseboards and crown moulding that need attending to. Follow me on Instagram for behind-the-scenes peeks at these projects on Instagram Stories. - b.

5 TIPS TO KEEP FLOWERS FRESHER LONGER
5_Tips_Fresher_Flowers_Intro.jpg

Who doesn't love a fresh bouquet of fragrant blooms, and equally hate their hasty demise? I've spent too many years of my adult life creating flower arrangements, only to have them wilt within a day or two. In the last year I've spent a lot of time researching and testing different methods to naturally elongate the life of cut flowers and today I'm sharing my 5 favorites.

Bacteria is the number one killer of blooms, so the tips below focus on minimizing its growth and keeping your flowers as good as new.

tip to keep flowers fresher longer | cut flower stems at a 45 degree angle | image via: bekuh b.

1. Cut flowers at a 45° degree angle-  The angle creates a wider surface for the flower to drink, and eliminates the risk of bacteria, the two main issues caused by a stem cut straight across the bottom.

2. Treat freshly cut flowers with hot water- Immediately after cutting the stems put your flowers in hot water and place them in the fridge, this is called "hardening." This process supercharges your flowers, perking up the drooping heads and opening the tight buds.

tip for keeping flowers fresher longer | vinegar, sugar, and water elongate the life of cut flowers | via: bekuh b.

3. Add 2 tbsp. apple cider vinegar, 2 tbsp. sugar, and a dash of bleach to water- The vinegar and sugar balance the water's pH to keep flowers fresher longer, but increases the chance of bacteria. Adding the bleach removes the bacterial risk and gives your flowers the best chance at a long happy life. Just keep a 3-to-1 ratio in mind when mixing water with these ingredients.

tip for keeping cut flowers fresher longer | refresh the water every couple of days | via: bekuh b.

4. Refresh the water every couple days- The water in your bouquets will become stale and breed harmful bacteria if left stagnant for too long. Avoid this by refreshing the water every couple of days and removing the dead blooms.

5. Place flowers in the fridge- Having a dinner party on Saturday but only have time to arrange your centerpieces on Wednesday? Stick the entire arrangement in the fridge to slow the decay process to a crawl. Just make sure your fridge isn't too cold, and you have enough room leftover for all your groceries!

These tips are easy to follow and the results will amaze. If you know of any other floral longevity secrets I'd love to hear them. - b.

5 tips to keep flowers fresher longer | via: bekuh b.

 Resources: Scientific American | Wiki How |  | Read more of my flower arranging tips here.